Prepress
Prepress is the first step when artwork arrives at the printery from the designer and involves the following processes:
Reviewing & Preflighting Artwork
In this process a specialist Prepress operator will check the supplied artwork to ensure it has been set up correctly. It is important to note that this is a technical check—and not a content check—a printery will not spell check or proof read your artwork. The Prepress operator will be specifically looking at the following:
- The supplied format is correct (high resolution PDF)
- The artwork document trim-size is correct
- The artwork document includes crop marks
- The document includes bleed (if necessary)
- All fonts are available within the supplied file—no fonts are missing
- All images are the correct resolution (minimum 300ppi)
- All colours within the document are CMYK or PMS Spot Colour—no RGB colours are present
Explanations of the above considerations are covered in detail in GSM blog: Artwork.
Ganging-Up & Imposing Artwork
One reason Offset printing is cost-effective for medium to large print runs—is the ability to run multiple copies of a print project ‘ganged-up’ on an oversized sheet. Offset projects are seldom run as single pages on a sheet—as per what an officelevel laser printer produces. Looking at the examples (below), you can see how this process of ‘ganging-up’ works.
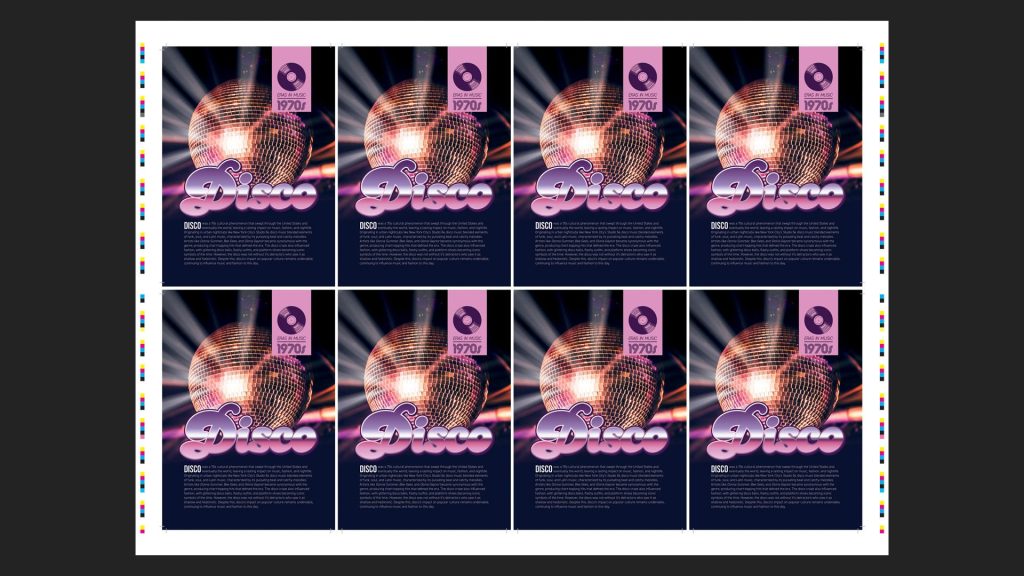 This single-sided one-page flyer has been ganged ‘eightup’ on a printer’s sheet. Once trimmed, this will result in eight, single sided copies from each printer’s sheet.
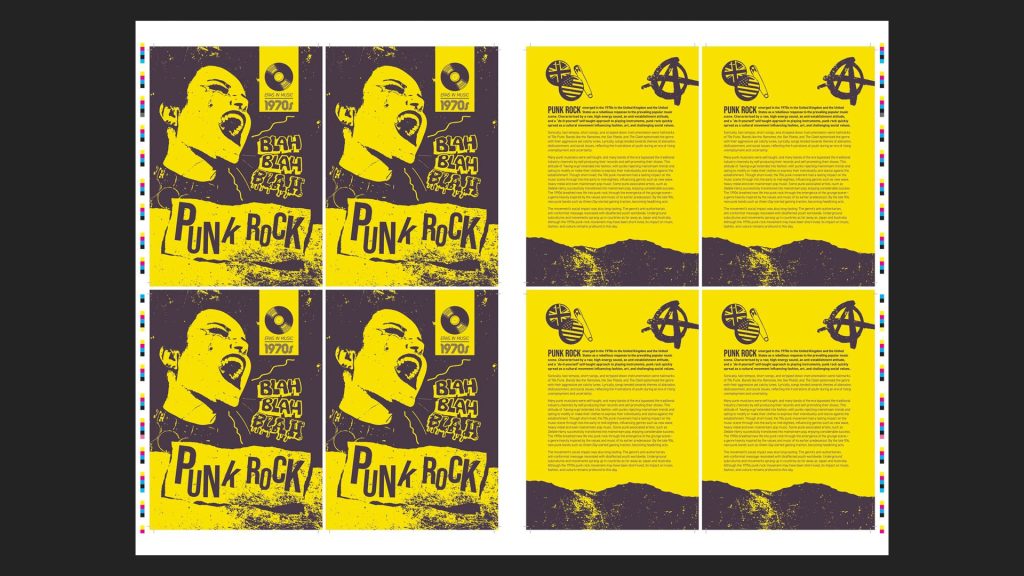 This double-sided flyer has also been ganged ‘eight-up’ on the same size printer’s sheet as the first example— with both sides of the design printed on the same side of the printer’s sheet. After one side is printed, a ‘perfecting’ device inside the press flips the paper and prints the reverse side using the same printing plates. Once trimmed, this will result in eight, double sided copies from each printer’s sheet.
Things get more complicated when producing multi-page documents, such as brochures or magazines. For multi-page documents, the prepress operator transposes the supplied artwork from ‘readers spreads’ into ‘imposed spreads’. These imposed spreads are laid up on the printer’s sheet using an imposition template. This imposition process is necessary because of how binding works— refer GSM blog: Beyond Print.
Imposition
To illustrate how imposition works—look at our example;

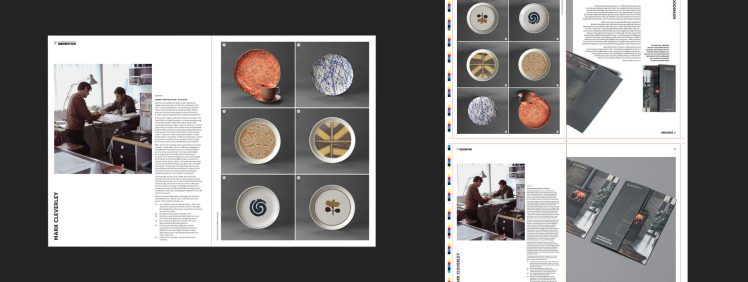
- Shows an original reader’s spread from GSM issue 21.
- Shows one side of the original printer’s hardcopy proof, which includes these two pages. This four-up imposition is set on an SRA2 sheet (450mm x 640mm); page 16 is bottom left, and page 17 is top left. Note that the two pages at the top are upside down, but these will be the correct orientation once folded. And, once collated and bound, pages 16 & 17 will face each other. Like magic.
- Using GSM issue 21 again—over page shows both sides of the eight SRA2 printer’s proofs for the 64 internal pages from this document. Note there is also a separate cover section (not shown). The matching finished printers sheets were folded, and cross-folded into folios, then collated inside each other with the cover wrapped around the outside, and bound using saddle stitching (staple binding). Once bound, the document was trimmed to the finished size (215mm x 277mm)
Proofing
Most projects are ‘proofed’ before they go to press. These proofs may be in the form of hardcopy printed proofs—or—as a soft-copy PDF. The purpose of these proofs is two-fold: to provide a final check to ensure the content is correct—and to sight the colour.
If colour accuracy is a critical component in the project, the only accurate way to proof colour—is by running a hardcopy proof. It is also important to note that the press operator will match colour as close as possible to these proofs—what you see on the proof is what you should expect. Using a softcopy PDF to check colour is not a sound work methodology and should be avoided. If colour is important— request a hardcopy proof. Hardcopy proofs are usually supplied as the gangedup or imposed artwork—the way in which the project will be printed. It is critical to take the time to check these proofs, and potentially to have someone re-read the content. If changes or amends are required—these are usually made by the designer, and replacement artwork sent back to the printery’s prepress department for the amended pages only. Replacement proofs for any amended pages are generated and dispatched back to the designer for re-checking. This proofing process may go through a number of iterations before the project is signed off.
A complete set of proofs should be signed by whomever is financially responsible for paying the printer—and it is important to note here that any subsequent changes or amends to the project, after the proofs are signed, may incur significant additional costs. Once the proofs have been checked and signed off, the project proceeds to platemaking.
Platemaking
Offset printing predominantly (but not exclusively) uses the CMYK colour model. This requires that the artwork be split into separations. One separation is created per process colour: Cyan, Magenta, Yellow and Key-Black. These separations are transferred via a process of photographic imaging onto the printing plates using a computer-to-plate (CTP) laser/photographic platemaker—one plate is created per process colour. The printing plates themselves are most commonly made from aluminium which are coated on the print/image side with a special coating. During imaging, this coating is removed from the non-image area, leaving the coating in the image area only. During printing, it is the coated image area that will attract and hold ink, the non-image area will do the opposite—hold water and repel the ink. Note that where a project uses Pantone Spot colour—each Pantone Spot Colour will requires an additional printing plate. Once the plates are made, the project is ready to print.
Separations & Platemaking
 This image shows the aluminium printing plates that match the imposed printers proof, as shown above. There is one plate for each of the four process colours.